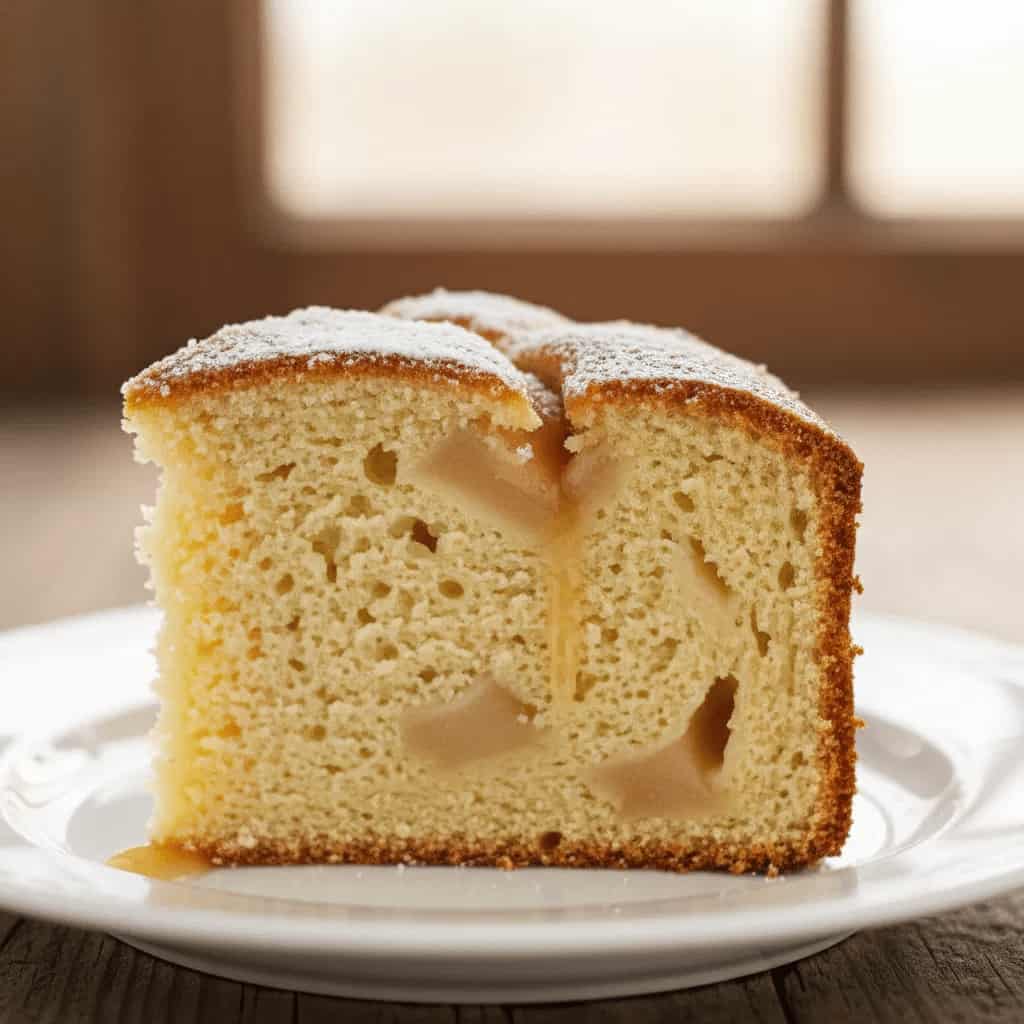
Jamie Oliver’s apple sponge is a warm, comforting dessert that brings together soft, stewed apples and a light, fluffy sponge topping. It’s simple, nostalgic, and incredibly satisfying—the kind of dessert that fills the kitchen with a sweet, buttery aroma as it bakes.
The contrast between the tender apple base and the airy sponge on top makes every bite balanced and comforting. It’s perfect for family dinners, cozy weekends, or when you want a classic dessert without complicated steps.
This recipe serves about 6 people and takes roughly 45–55 minutes from start to finish. In this guide, I’ll walk you through each step so you can achieve a soft sponge and perfectly cooked apple base.
What Makes This Recipe Worth Making
- Classic comfort dessert
Combines soft fruit and fluffy sponge for a warm, satisfying dish that feels homemade and comforting. - Balanced sweetness and texture
The apples add natural sweetness while the sponge keeps it light and airy. - Simple ingredients and method
Uses everyday pantry staples with easy-to-follow steps. - Perfect for sharing
Ideal for family meals or gatherings. - Customizable flavors
You can adjust spices, sweetness, or fruit combinations easily.
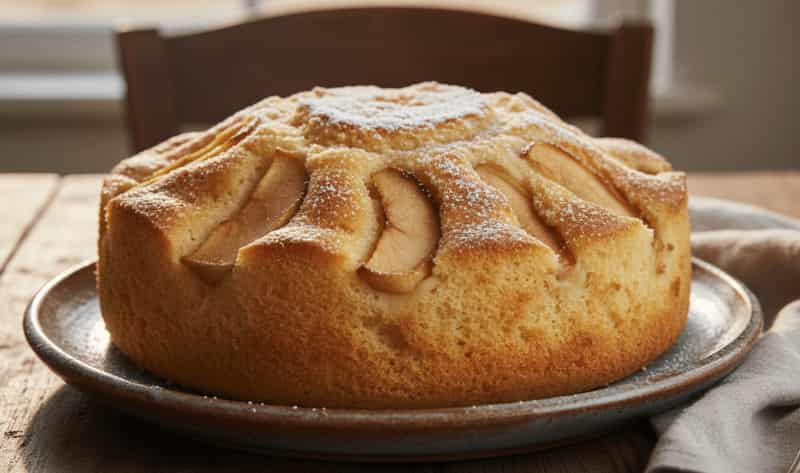
What Is Jamie Oliver’s Apple Sponge?
Jamie Oliver’s apple sponge is a dessert made by layering cooked apples at the base and topping them with a sponge batter, then baking until golden and fluffy.
Jamie Oliver Apple Sponge Ingredients List
For the Apple Base
- 4–5 apples (peeled, cored, and sliced)
- 2–3 tablespoons sugar
- 1 teaspoon cinnamon
- 2 tablespoons water
For the Sponge Topping
- 150g butter (softened)
- 150g sugar
- 2 eggs
- 150g self-raising flour
- 1 teaspoon vanilla extract
- Pinch of salt
Optional additions:
- Lemon zest
- Nutmeg
- Chopped nuts
Similar recipes to add to your list
How to Prepare Jamie Oliver Apple Sponge – Simple Steps
Step 1: Preheat the Oven
Preheat your oven to 180°C (350°F). This ensures even cooking for both the apple base and sponge topping.
Step 2: Prepare the Apple Base
Place the sliced apples in a pan with sugar, cinnamon, and water. Cook gently for 5–8 minutes until slightly softened but not mushy. This step ensures the apples are tender after baking.
Step 3: Transfer Apples to Baking Dish
Spread the cooked apples evenly in a baking dish, creating a uniform base for the sponge.
Step 4: Cream Butter and Sugar
In a bowl, beat the butter and sugar together until light and fluffy. This step is key to achieving a soft sponge texture.
Step 5: Add Eggs and Vanilla
Add eggs one at a time, mixing well after each addition. Stir in vanilla extract to enhance flavor.
Step 6: Add Flour
Fold in the self-raising flour gently. Avoid overmixing to keep the sponge light and airy.
Step 7: Spread Sponge Over Apples
Carefully spread the sponge mixture over the apple layer. Try to cover it evenly without pressing too hard.
Step 8: Bake Until Golden
Bake for 30–35 minutes until the sponge is golden and a skewer inserted comes out clean.
Step 9: Cool Slightly Before Serving
Let the dessert cool for a few minutes before serving to allow the layers to settle.
Common Mistakes to Avoid When Making Jamie Oliver’s Apple Sponge
- Overcooking the apples initially
Leads to a mushy base. - Overmixing the sponge batter
Results in a dense texture. - Using too much liquid in apples
Can make the base watery. - Not spreading the sponge evenly
Causes uneven baking. - Underbaking
Leaves the sponge raw inside.
Delicious Side Dishes to Serve With Jamie Oliver Apple Sponge
- Vanilla custard
Adds warmth and creaminess to the dessert. - Vanilla ice cream
Creates a contrast between hot and cold. - Whipped cream
Light and airy pairing. - Greek yogurt
Adds a tangy balance. - Caramel sauce
Enhances sweetness and richness.
Expert Tips to Get Jamie Oliver Apple Sponge Right
- Use slightly tart apples
Balances sweetness. - Cream butter properly
Ensures light sponge texture. - Cook apples just until soft
Prevents over-softening. - Check doneness in center
Ensures even baking. - Serve warm for best flavor
Enhances texture and taste.
How to Add More Flavour to Apple Sponge
- Add nutmeg or cloves
Deepens spice flavor. - Use brown sugar
Adds caramel notes. - Add lemon zest
Brightens flavor. - Include raisins or dried fruits
Adds texture. - Top with a crumble layer
Adds crunch.
How to Adjust Jamie Oliver Apple Sponge for Kids
- Reduce spices slightly
Keeps flavour mild. - Use sweeter apples
Makes it more appealing. - Add chocolate chips to sponge
Adds fun element. - Serve with ice cream
Makes it more enjoyable.
Best Way to Store Apple Sponge Leftovers
- Refrigerate in airtight container
Keeps fresh for up to 3 days. - Cool completely before storing
Prevents condensation. - Store in portions
Makes reheating easier. - Avoid long storage
Best enjoyed fresh.
Best Ways to Reheat Apple Sponge Leftovers
- Microwave reheating
Quick and convenient. - Oven reheating
Maintains texture better. - Add a little moisture if needed
Prevents dryness. - Serve warm for the best taste
Enhances flavor.
Nutritional Value (Per Serving)
- Calories: ~320 kcal
- Carbohydrates: ~45g
- Protein: ~5g
- Fat: ~14g
- Fiber: ~3g
FAQs
Can I use different fruits instead of apples?
Yes, pears or berries can be used as alternatives.
Why is my sponge dense?
It’s usually due to overmixing or not creaming the butter properly.
Can I make this dessert ahead of time?
Yes, it can be prepared in advance and reheated before serving.
How do I keep the sponge soft?
Avoid overbaking and store it properly in an airtight container
Final Words
Jamie Oliver’s apple sponge is a timeless dessert that delivers warmth, simplicity, and comfort in every bite. It’s easy to make, adaptable, and perfect for any occasion. Once you try it, it becomes a reliable favorite for cozy meals and gatherings.
PrintJamie Oliver Apple Sponge

Jamie Oliver’s apple sponge is a dessert made by layering cooked apples at the base and topping them with a sponge batter, then baking until golden and fluffy.
- Prep Time: 15
- Cook Time: 30
- Total Time: 45 minutes
- Yield: 6 1x
- Category: Dessert
- Method: Baking
- Cuisine: British
Ingredients
For the Apple Base
- 4–5 apples (peeled, cored, and sliced)
- 2–3 tablespoons sugar
- 1 teaspoon cinnamon
- 2 tablespoons water
For the Sponge Topping
- 150g butter (softened)
- 150g sugar
- 2 eggs
- 150g self-raising flour
- 1 teaspoon vanilla extract
- Pinch of salt
Optional additions:
- Lemon zest
- Nutmeg
- Chopped nuts
Instructions
Preheat your oven to 180°C (350°F). This ensures even cooking for both the apple base and sponge topping.
Place the sliced apples in a pan with sugar, cinnamon, and water. Cook gently for 5–8 minutes until slightly softened but not mushy. This step ensures the apples are tender after baking.
Spread the cooked apples evenly in a baking dish, creating a uniform base for the sponge.
In a bowl, beat the butter and sugar together until light and fluffy. This step is key to achieving a soft sponge texture.
Add eggs one at a time, mixing well after each addition. Stir in vanilla extract to enhance flavor.
Fold in the self-raising flour gently. Avoid overmixing to keep the sponge light and airy.
Carefully spread the sponge mixture over the apple layer. Try to cover it evenly without pressing too hard.
Bake for 30–35 minutes until the sponge is golden and a skewer inserted comes out clean.
Let the dessert cool for a few minutes before serving to allow the layers to settle.